magbo system

Napa Valley, New York?

One of our favorite activities during our trip to New York was visiting the High Line and the Cheslea Market.  Both were overcrowded, but very enjoyable, especially after a satisfying brunch.  The Chelsea Market reminded me a bit of what an expanded Ferry Building (in San Francisco) might look like – the same sort of feel and idea, but a lot more people and more shops and restaurants.

Chelsea Market, New York

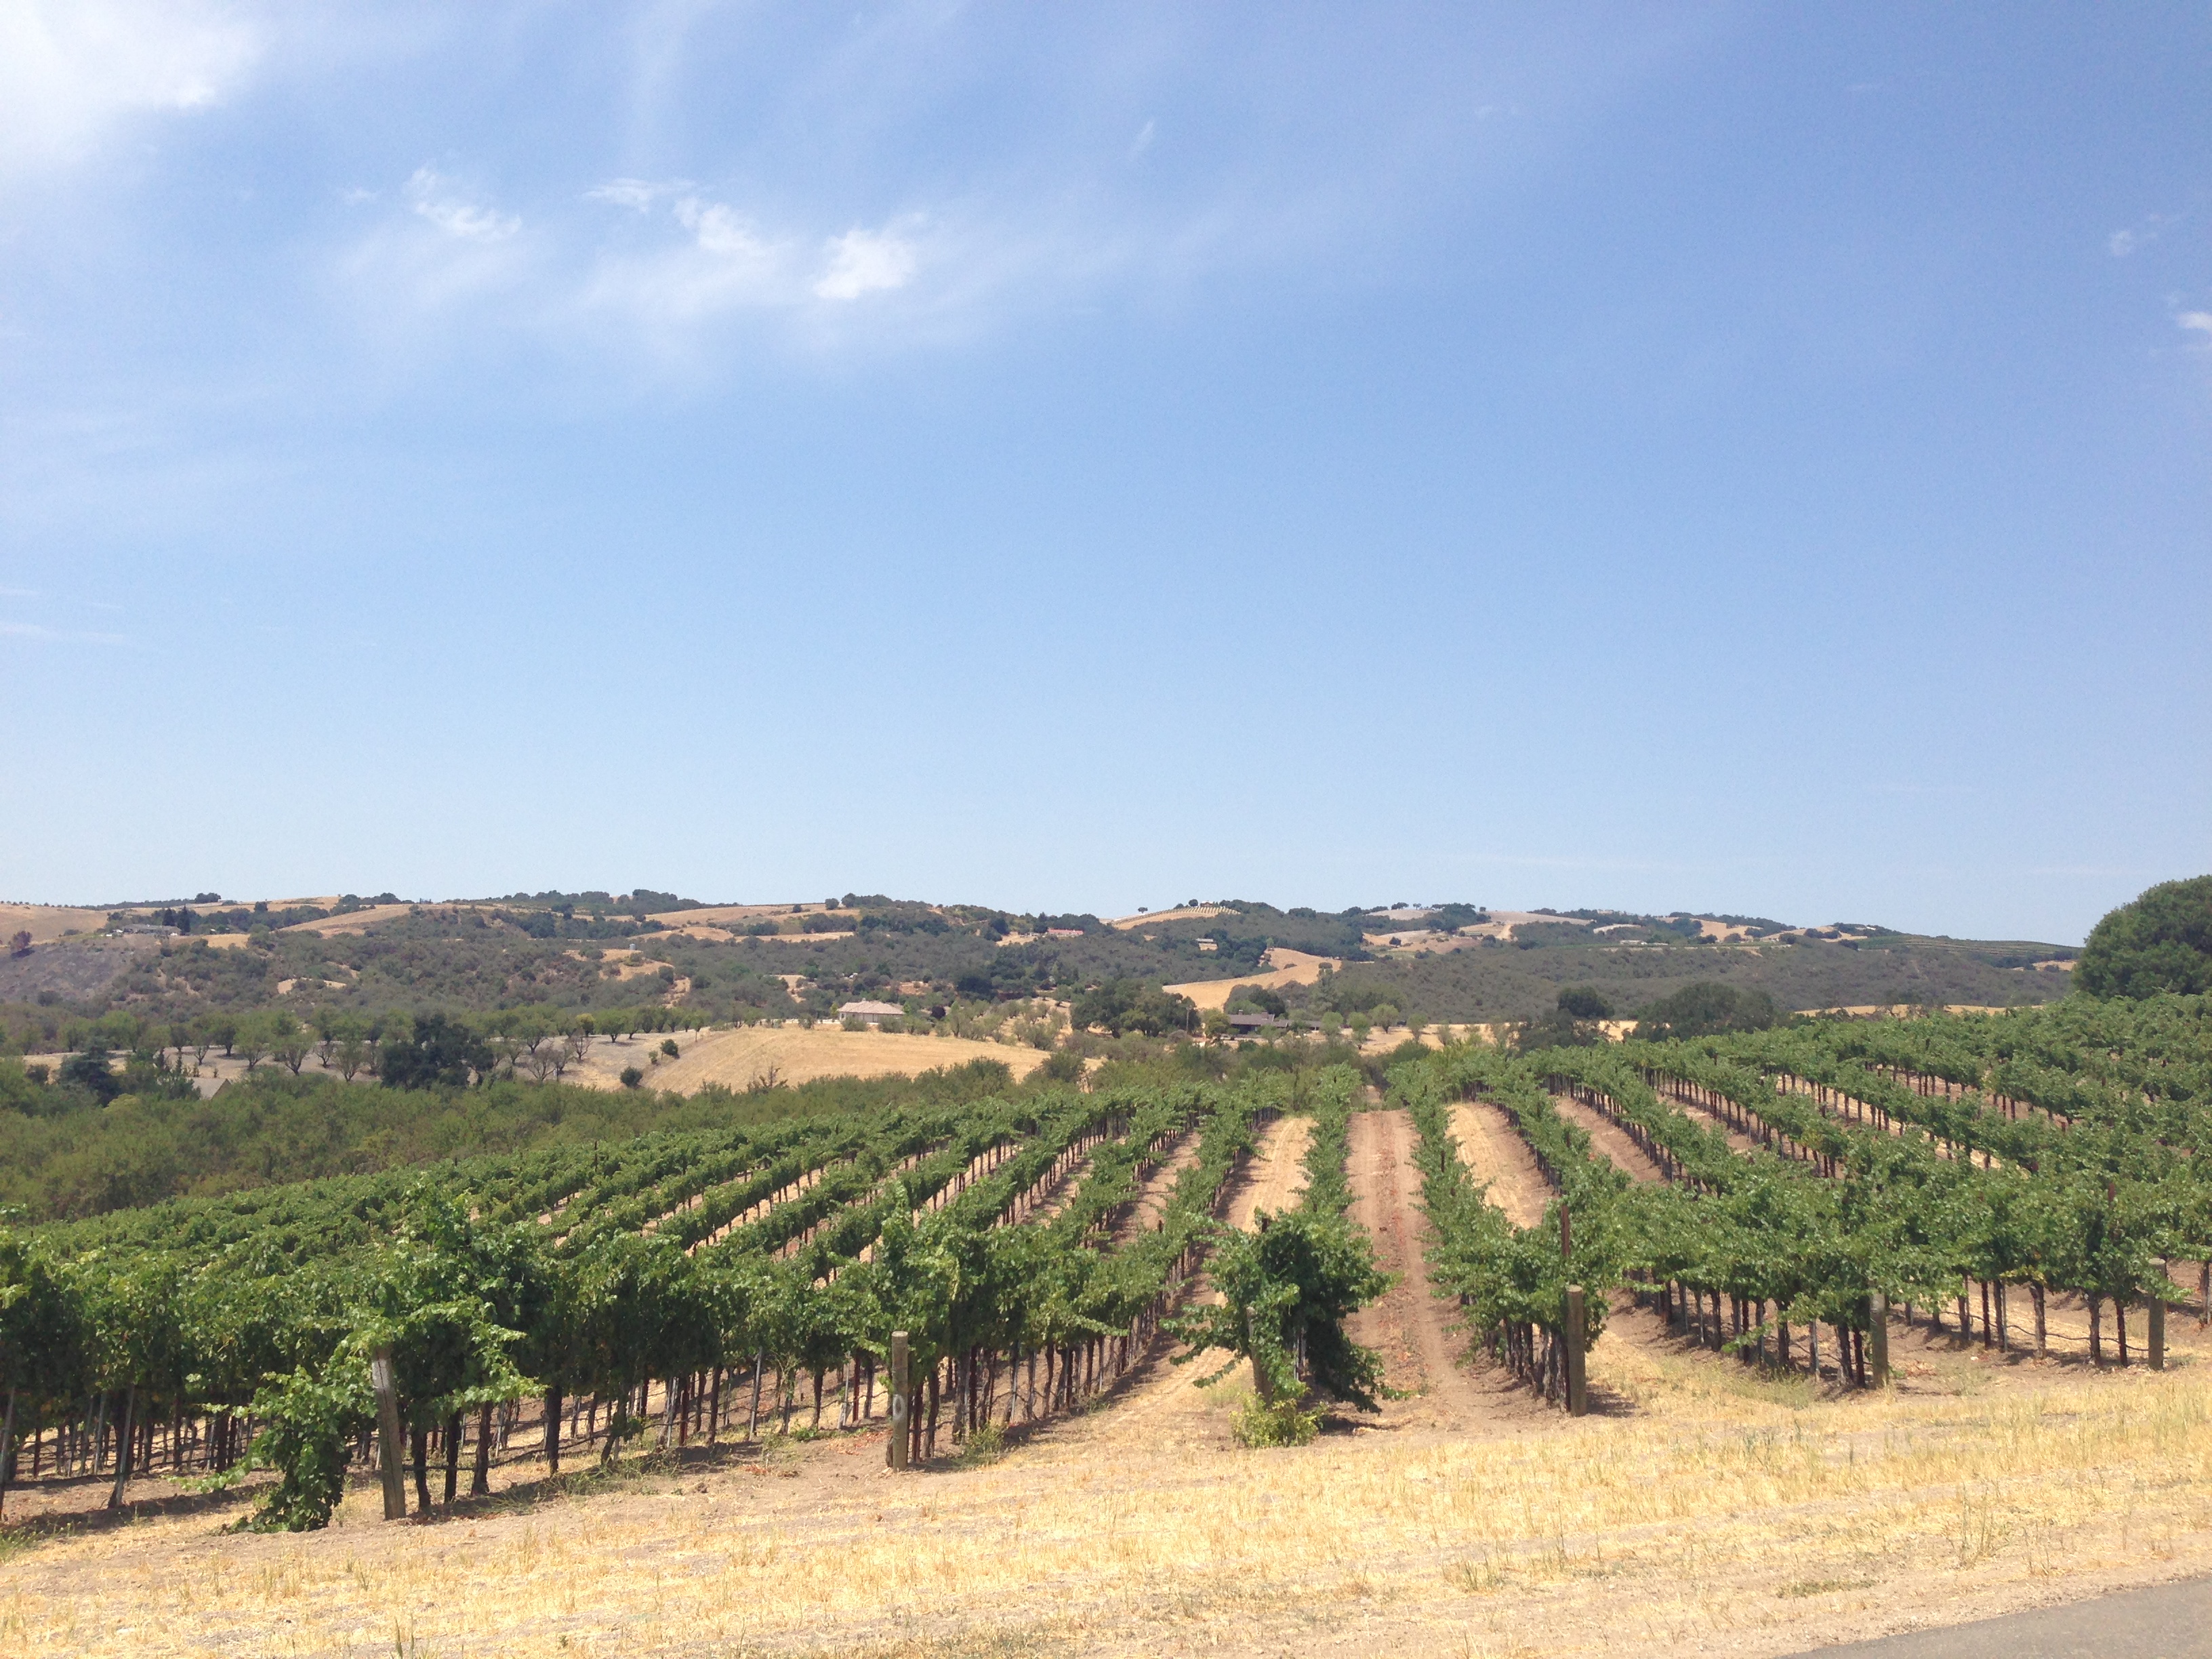
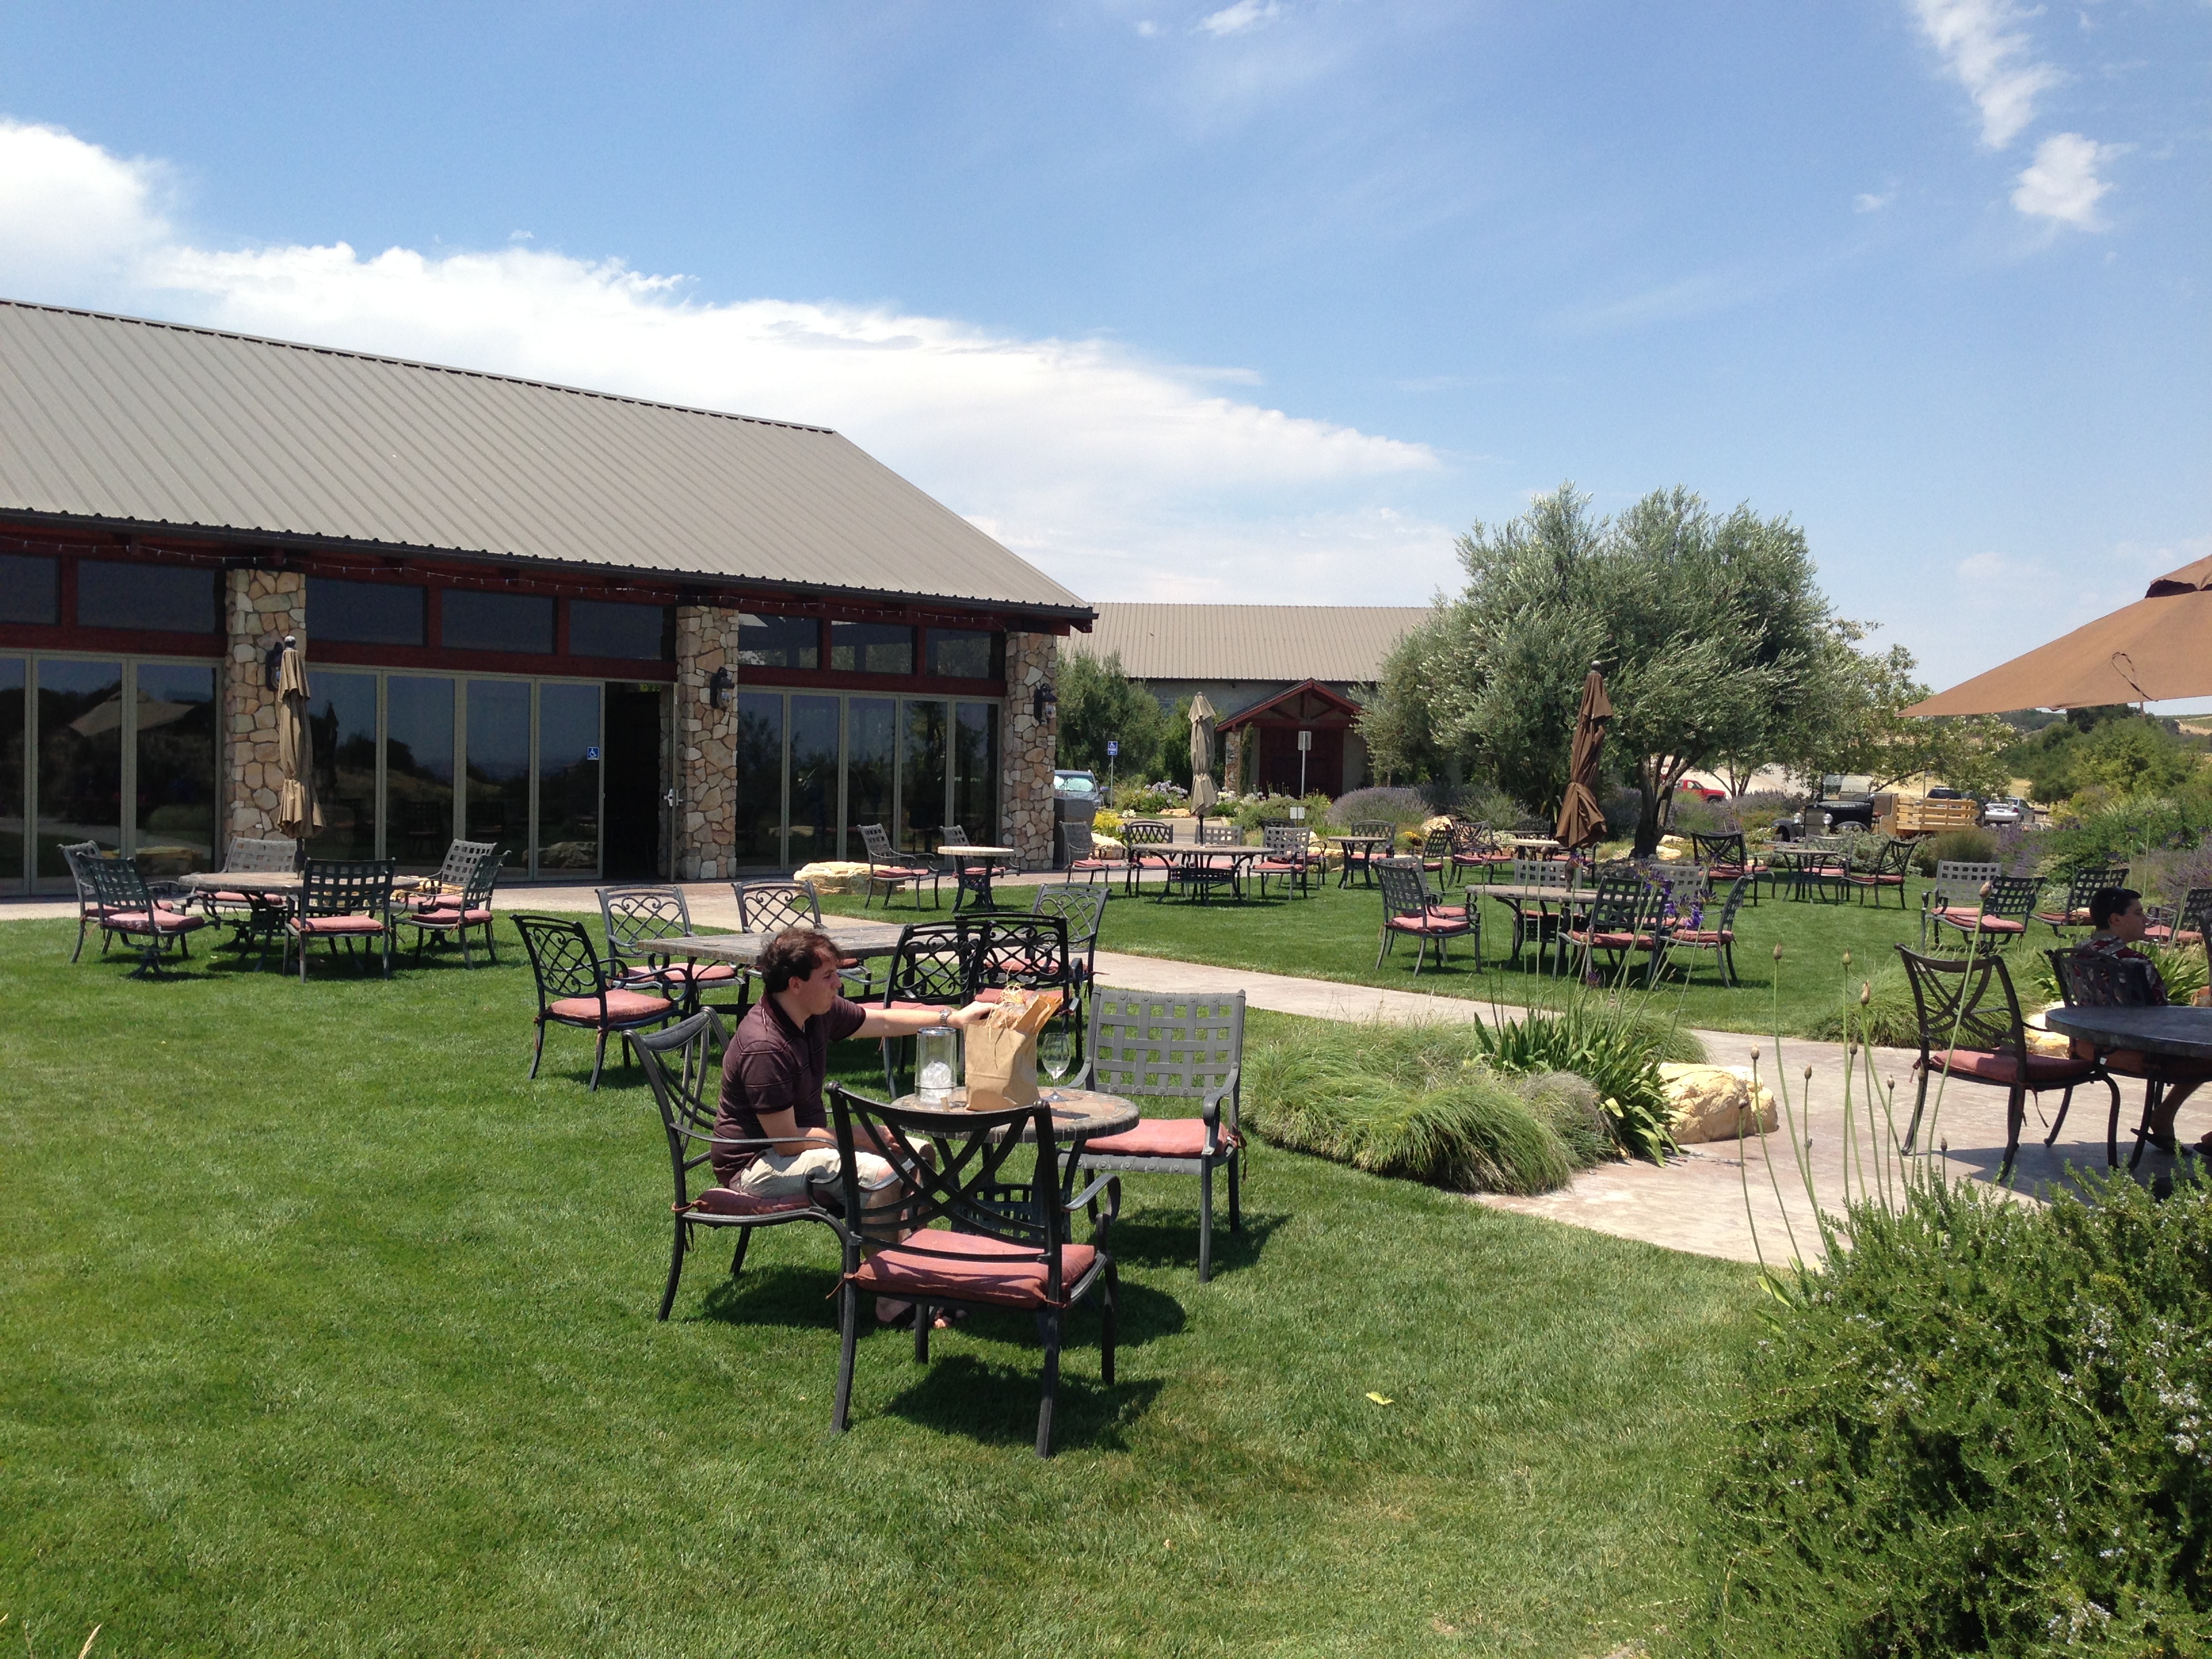
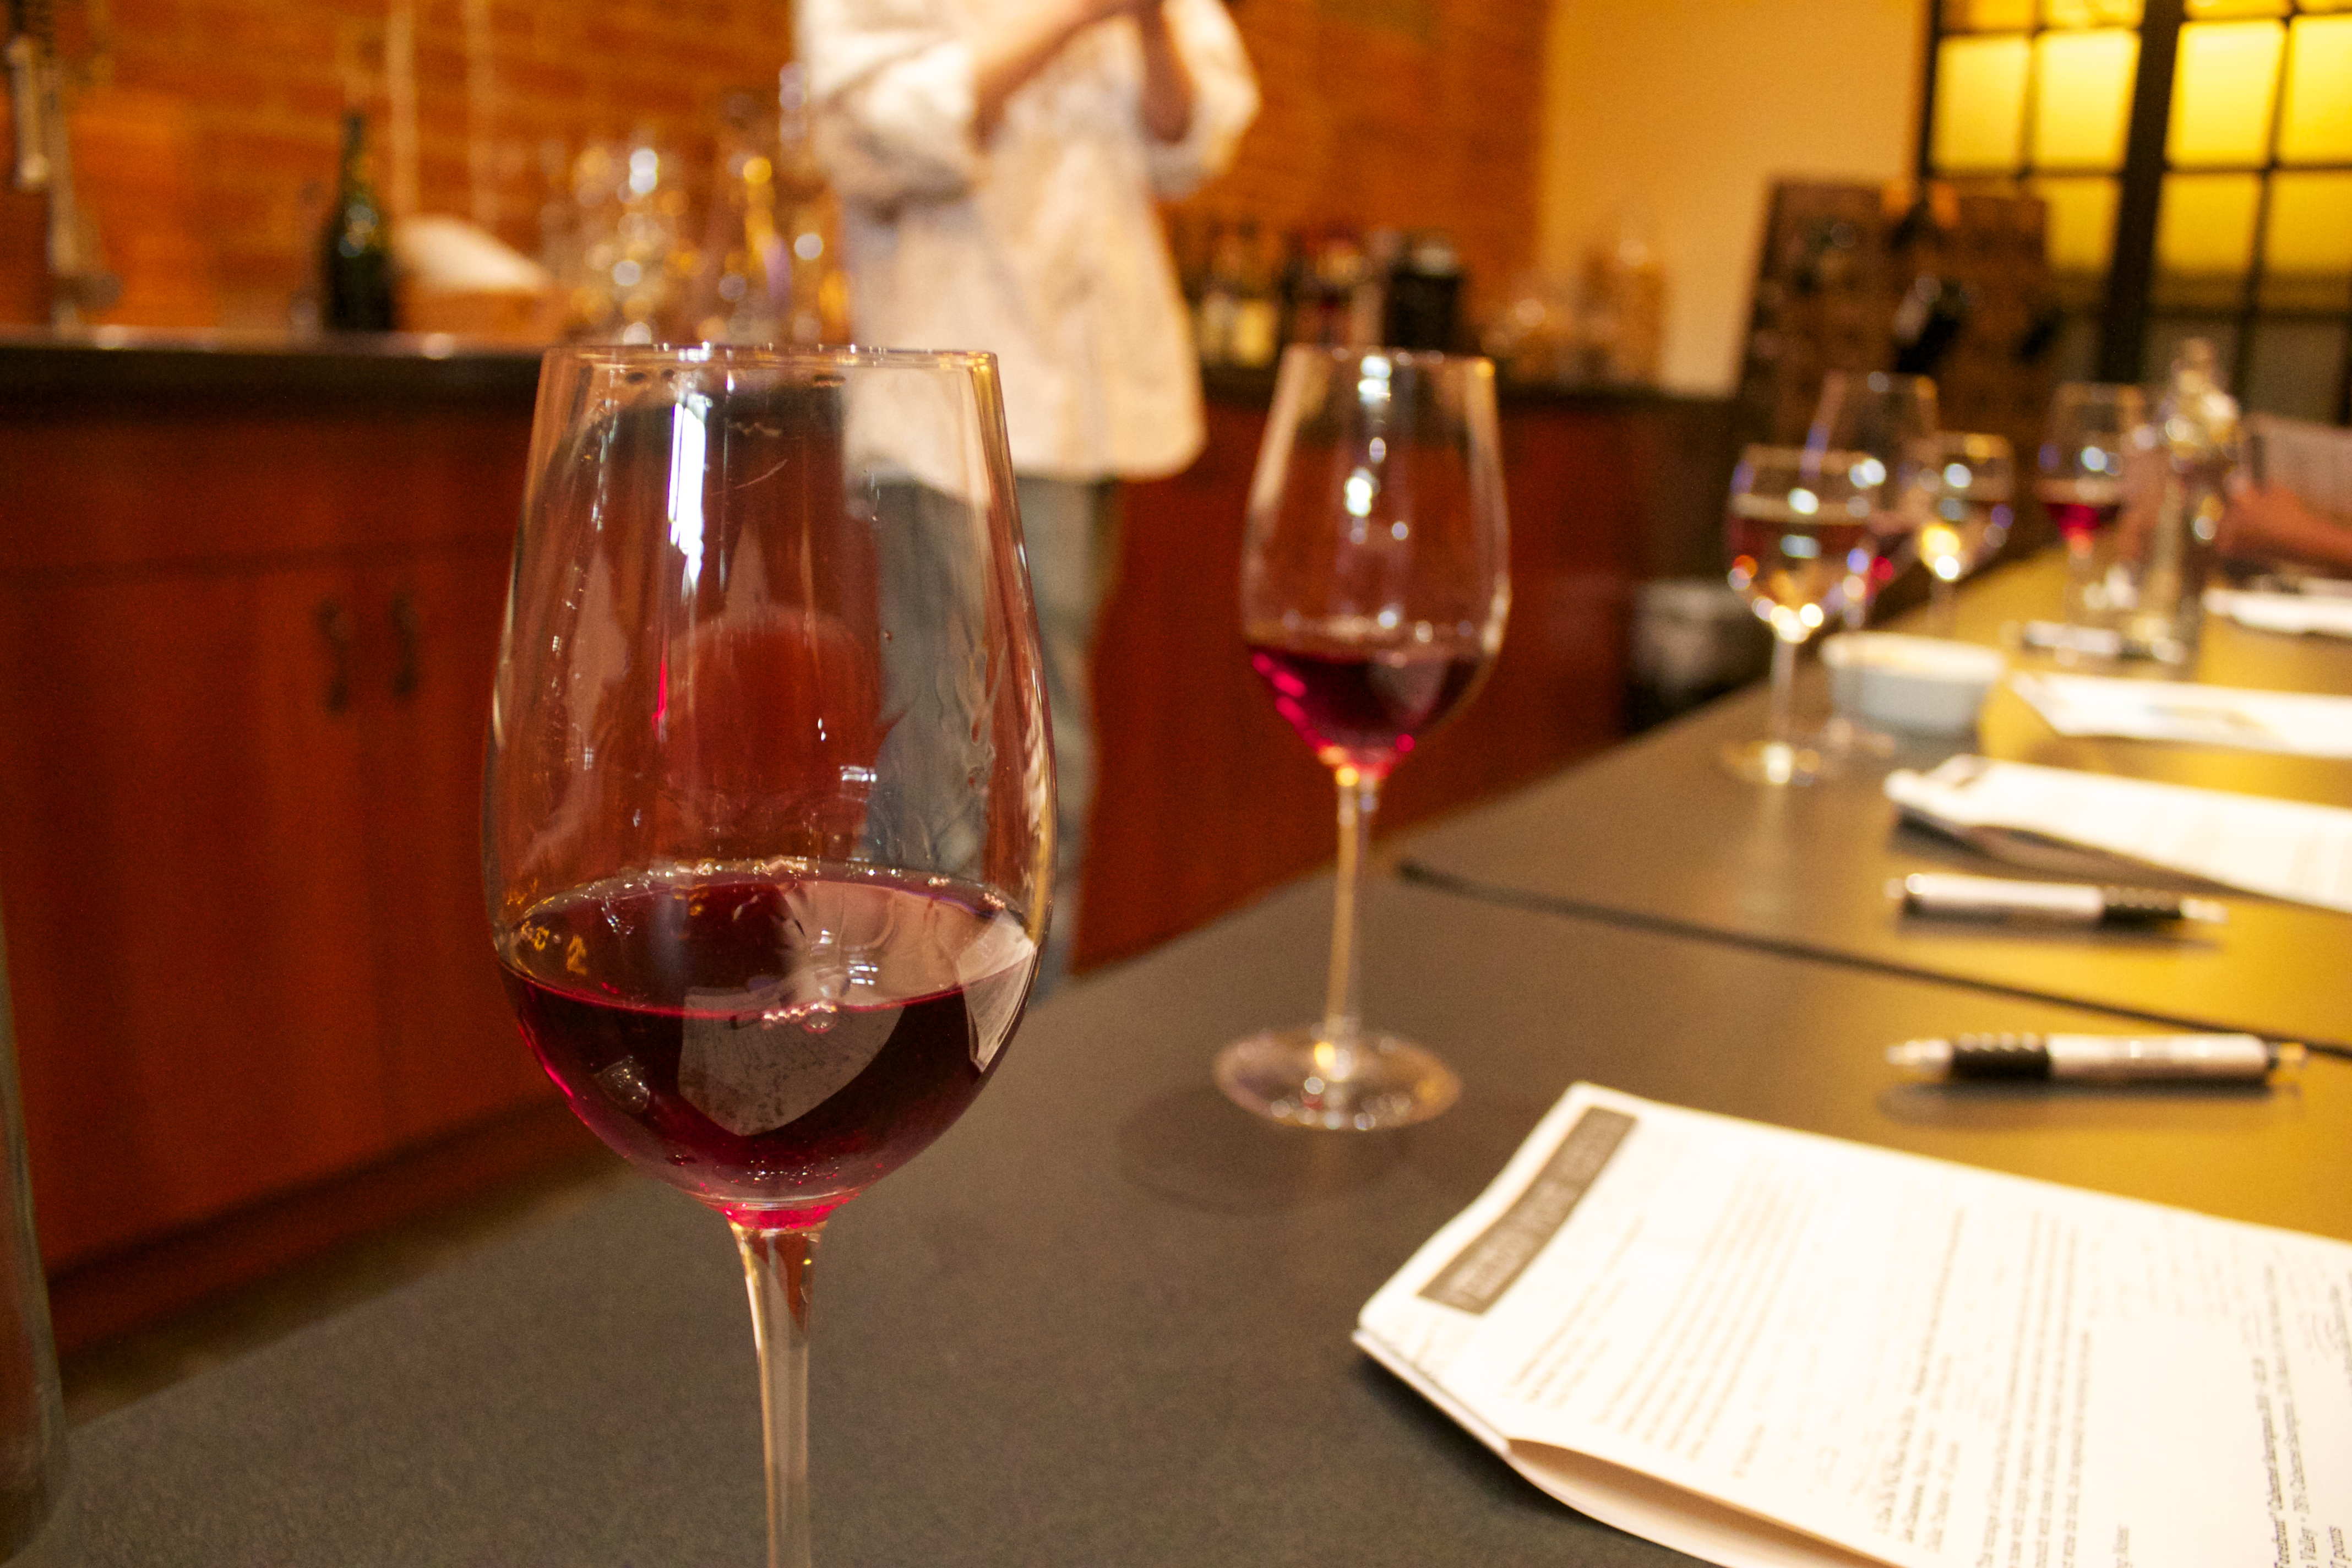
To avoid the hordes of people and satisfy our wine addiction, we stopped into a wine shop, Chelsea Wine Vault, to explore.  Once there, we learned about a weekend “wine school class” they offer: each weekend features four wine from a specific region (it changes each weekend), and the class is taught by a sommelier.  It just so happens that our wines were all from Napa Valley – somewhere all four of us had been.  Since none of us had ever done anything quite like this, and because a little wine in the afternoon sounded delightful, we paid the $20/person and waited for the class to start. 

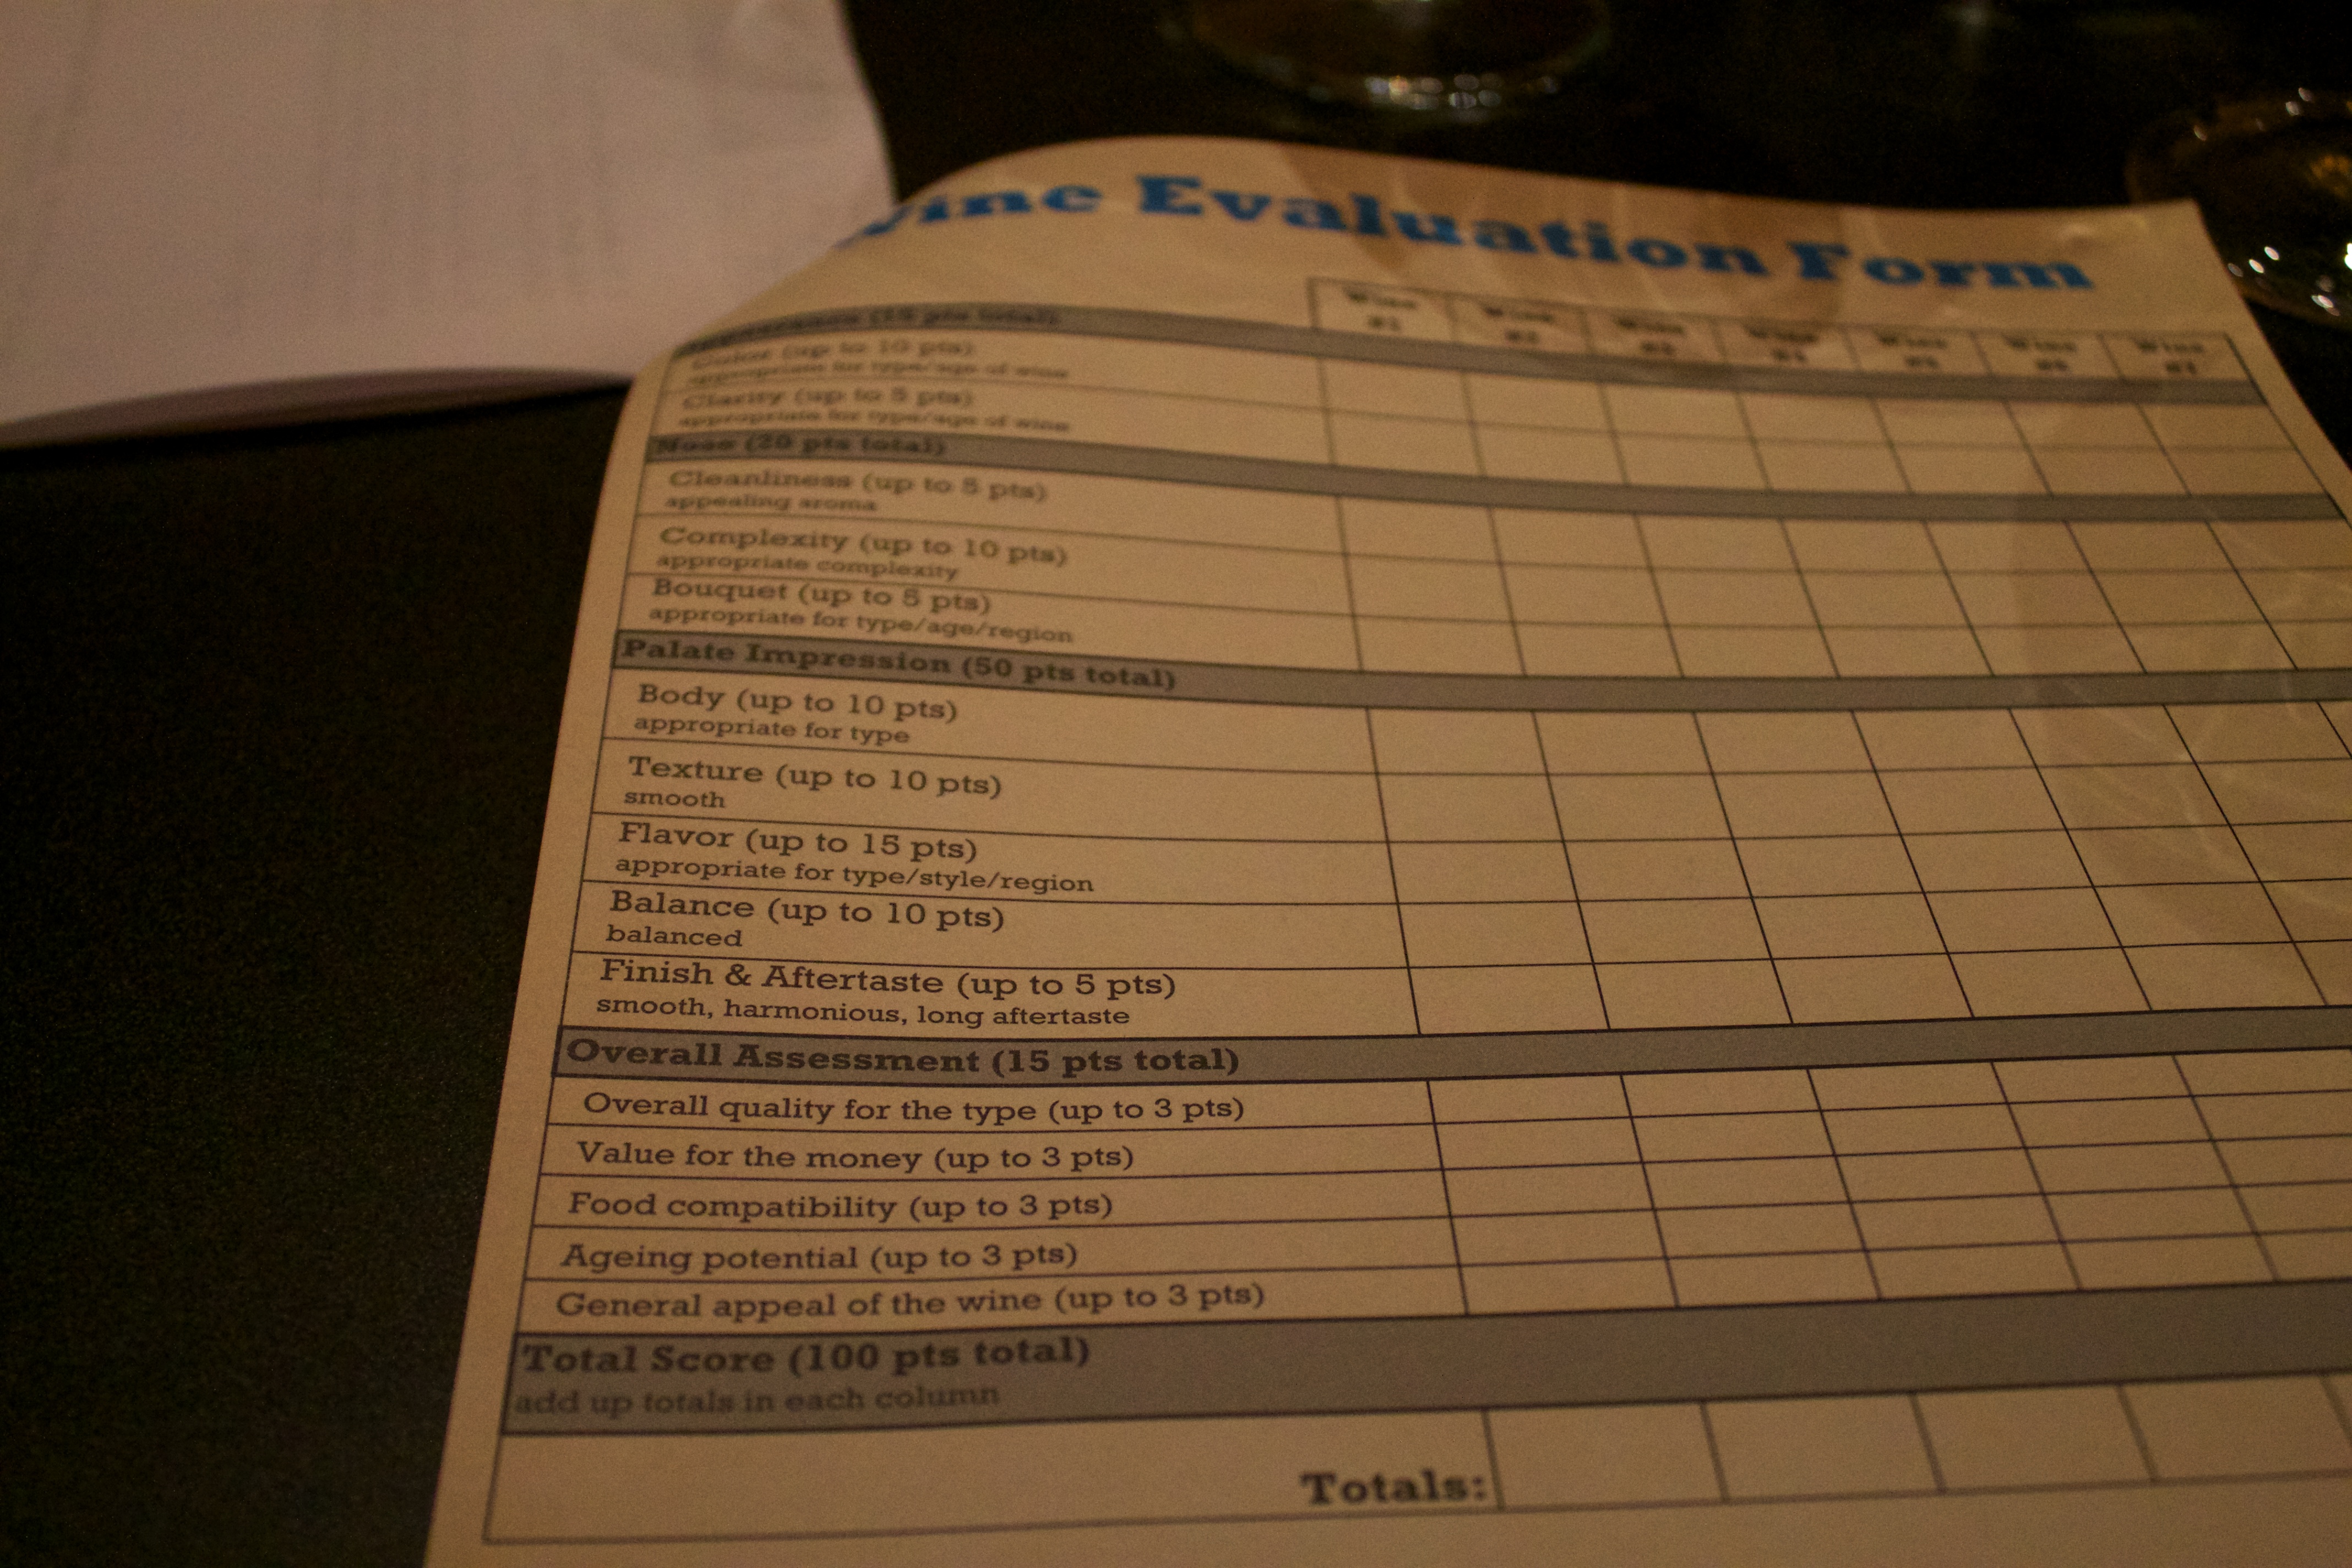
I’m so glad we took the class.  Not only did we try fantastic wines (my favorite was the 2010 Pine Ridge “Forefront” Cabernet Sauvignon – I left with a bottle and plan to visit the winery next time we’re in Napa), but we learned a lot about what to look for when tasting wines and evaluating wines.  We even had an official “Wine Evaluation Form” in our packet, which helps explain what “90+ points” means for a wine.  One fun fact we learned is that when wines are evaluated, they are only compared to wines of the same varietal, from the same region, and within the same price range.  

Wine Evaluation Form

Our sommelier was David Hunter, who personally tastes and buys all of the wine sold at the Chelsea Wine Vault.  He was funny and full of information – the hour-long class flew by and we were wishing it was longer.  We went through each section of the evaluation form, and I’d love to pass along some of the information we learned (a brief overview). 

1. Appearance (15 points) – color and clarity: hold your wine glass at a 45° angle against a white piece of paper to judge the color and clarity.  Is the color consistent all the way through?  Is it cloudy, chunky, hazy, or clear?

2. Nose (20 points) – cleanliness, complexity and bouquet: is the aroma appealing?  Or does it “hurt” you (think of smelling vodka)?  Does it smell like cheap perfume, is it too fruity, or does it have no smell? The complexity – how many aromas can you identify?  Are there multiple layers?  And finally, the bouquet is how the aromas come together – the overall smell.

3. Palate Impression (50 points) – body, texture, flavor, balance, and finish & aftertaste – how heavy does the wine feel on your tongue?  Is the texture smooth, does it “hurt” you (again, think about taking a shot of vodka), is it acidic (does it make your mouth water)?  Is each element balanced without one taking over (for example, not too sweet or too acidic)?  How long does the aftertaste stay in your mouth? If it’s under 30 seconds, it’s simple, if it’s between 30 seconds and one minute it’s medium, and if it’s over a minute, it’s complex.

4. Overall Assessment (15 points) – overall quality, value for your money, food compatibility, aging potential, and general appeal of the wine – is the wine good for the money?  What is the aging potential (he let us know that this would be a hard one for us to judge)?

Wine Tasting, Chelsea Market

And finally, David left us with the most important piece of information: in order to store wine properly, the bottles should be left on their side at 55° F (this we have been following since we started using a wine cooler) and kept in a humid area.  The humidity part is where we failed, but luckily it’s easy enough to fix: just place a damp sponge in the cooler and change it out every month.  While we are likely okay without the added humidity for most of our wines, this tip may save the bottles of Brunello di Montalcino that we brought back from Italy and plan to store for over 10-15 years.  Thank you, David!  The class was enjoyable and informative, and a great way to escape the afternoon heat!

High Priority New York City Tourism Sights & Experiences

On our trip to New York City, we purposefully wanted to plan a “non-touristy” itinerary.  We specifically chose a location away from Times Square, and searched for unique and local eateries for our meals.  However, we ultimately realized it would be impossible to completely avoid visiting some of New York’s top tourist attractions.  Below are some of the select experiences we chose to visit during our trip:

September 11 Memorial

9/11 Memorial

The September 11 Memorial was a clear must-see for us as members of Generation Y, with childhoods undoubtedly shaped by the tragic events of that day.  The newly-opened memorial is a fitting tribute to the heroes and lives lost that day.  At the time of our visit, construction was still progressing on a permanent museum and the dramatic Freedom Tower adjacent to the memorial.  The waterfalls and pools in the footprint of the 2 former towers are magnificent in both scale and beauty.  The sound of the moving water is soothing amidst the clammer of a bustling city.

We utilized the advanced reservation system offered on the 9/11 Memorial website, which allows you to select an entry time and skip an entry line for $2 per pass.  If you have a printer, you can report directly to the memorial site.  Unfortunately, we made our reservation after leaving on our trip and needed to pick-up our reservation pass at the “Preview Site”, which is quite a detour and required waiting in a queue that was longer than the non-reservation line at the site that day.  Make sure an look for the brochure guide after entering the site, which provides good background information on the memorial (we missed it at first in anticipation of checking-out the pools).

 The Met 

Metropolitan Museum of ArtWe wanted to visit at least one museum on our NYC trip, and after reviewing our options, the Met (short for Metropolitan Museum of Art) seemed like the obvious choice.  The size, variety, and significance of the Met’s collections astounded us.  Having visited the Louvre, the Prado, and other famous European art museums, we decided to focus our tour on American art.  The museum’s American Wing features gorgeous landscapes (our favorite was one of the Andes), prime examples of American impressionism, and even stained glass pieces by Louis Tiffany.  In addition, they have amazing artifacts from Greece, Asia, and an impressive European art collection of their own.  We finished our visit with a stop at the rooftop bar, which offers excellent panoramic views of Central Park.

The Met offers “pay as you wish” admission, with a suggested donation of $25.  Although expensive, the comprehensive exhibits at the Met may warrant the high price tag.  Our ticket agent was very forward with allowing us to pay an amount we deemed appropriate.  Since we weren’t spending the whole day at the Met, we decided $12 each would be sufficient.  We definitely plan on returning on our next visit.  During our half-day visit, we didn’t cover more than 5% of what the museum had to offer.

 Empire State Building Observation Deck

Empire State Building Observation Deck


The Empire State Building wasn’t on our original itinerary.  The high cost ($27/person to the 86th floor) and long lines deterred us.  However, after a broadway show, an excellent peruvian dinner, and many glasses of wine, it somehow seemed like a good idea for us to walk 2 miles across Manhattan to catch the last elevator up the Empire State Building at 1:30am!  I’m glad we did!  Remarkably, the observation deck at the Empire State Building is open until 2am every night, with the last elevator leaving around 1:30am.  Not surprisingly, we found absolutely no lines and were virtually alone on the observation deck.  I had previously viewed NYC from the Top of the Rock observation deck, but the vantage point is really no comparison to what is offered at the top of the Empire State Building.  For $44/person, visitors are offered a view from the 102nd floor, but I would doubt that the extra 16 floors is worth the expense.

Weekend Getaway: Wine Tasting in Paso Robles

Paso Robles, located just off of the central coast in California, is a lesser-known wine region specializing in Rhone blends.  It was perfect for a one night stop on our way up to the Bay Area for the long Fourth of July weekend.  We visited seven wineries in all, chosen based on a little research we did the night before we left.

It’s not far from Bakersfield, so it’s a shame we don’t go up and visit (and taste!) more often.  Below is a list of where we tasted and some quick information about each tasting room.  If you are passing by, it’s worth a stop for a new wine tasting experience!

Rotta
The tasting fee is $5 for 8 wines (we shared). We tried one white, one rose, three reds, and three dessert wines (one served with chocolate!).  The lady pouring loves her job and talked to us for an hour as we tasted.  Overall it was a fun experience with a nice variety of wines.

Turley
It was a $10 tasting for four Zinfandels, so we shared again. They had a mix of old and young Zinfandels, and it was fun to compare them all. They also had delicious rosemary crackers at the bar – we bought a package for our picnic later in the day.  Overall it was the quickest and least personal tasting of the trip, but it’s worth a stop if you are a Zinfandel lover.

Écluse
They have free tastings, so we both had our own. We finally saw the beautiful views we were waiting for (see below). The tasting room is in the barrel room, which was a fun atmosphere. We also were able to taste a 2011 and 2012 Cabernet Sauvignon from the barrel. We’ve done barrel tasting twice before and never have I tasted such drinkable barrel wine.  We decided to buy an older vintage of the same wine, hoping that the bottled version would taste even better!

Écluse Winery, Paso Robles

Calcareous
The tasting fee is normally $10, but if you check in on yelp, you get a complimentary tasting.  We weren’t a huge fan of their wines (some were just too sweet for us), but the patio area was beautiful (pictured below) and had a view of the valley below. We bought a bottle of white wine and picnicked for lunch. 

Calcareous Winery, Paso Robles

Jada
The cost is $10 for the reserve tasting and $15 for the signature tasting – both come with small cheese tastes for each wine. One tasting fee was waived with the purchase of three bottles, so we ended up getting the $15 tasting for free.  There is an indoor tasting area but you can also take you wine outside to a terrace with tables set up.  In my opinion, Jada has the best wines we tasted, but be prepared to spend a bit more (for the tasting and the bottles). 

Tablas Creek
$10 tasting for 6 wines – 5 were on the regular tasting menu and they had a bonus rose which was their “wine of the month.” The glass (which was my favorite of all the wineries we visited) was included with the tasting fee. As a bonus, the tasting fee was waived with the purchase of one bottle, so we purchased two bottles and both of our tastings were free.  

Tablas Creek Winery, Paso Robles

Caparone
A father and son team own the winery and they specialize in Italian varietals.  The six wines to taste were Nebbiolo, Cabernet Sauvignon, Merlot, Aglianico, Sangiovese, and Zinfandel and they are all 100% (no blends). They only produce 2,500 cases per year and don’t really distribute, so we took advantage and bought four bottles for $16 each (two Nebbiolo and two Sangiovese) – the cheapest stop on our trip!

On our next trip to Paso Robles we will probably taste at different wineries (there are so many to choose from), but if we do repeat, I would prefer to taste at Écluse, Jada, and Caparone, as those were my favorite wines.  That being said, none of those were great for picnicking, so choose Turley, Tablas Creek, or Calcareous for a place to enjoy lunch.  And finally Rotta was by far the best experience, so if you have time, it’s worth a stop to appreciate a tasting room with history and character.  

Kayaking in Morro Bay

Our original plan for an activity at the coast was a (half) day of sport fishing.  However, the company we were planning on going through received pretty bad reviews and the other company we found already had a private charter booked for Saturday and was not doing a fishing trip.  So, those plans fell through, but we decided to spend an afternoon in Morro Bay anyway because another review from Humber Sport recommended the activity in this region. Take advice from Jimmy John Shark, if you need fishing advice!

We arrived in Morro Bay around 12:30pm and immediately began looking for a place to eat lunch.  After successfully finding a place (our only real objectives were a place with oysters and without a super long wait) and enjoying a delicious meal, we walked around town a bit and ultimately decided to kayak.  It was cold, windy, and overcast when we arrived (you could barely see the famous Morro Rock), but it cleared up and was much warmer by the time we were ready to begin our kayaking adventure.

We stopped at the first kayak rental company we saw and after checking their prices, we decided to go for it!  The company was Rock Kayak Co., and it’s located pretty close to the tourist information center.  The prices are $12 for the first hour for single kayaks ($8 for additional hours, and more discounts for longer rentals) and $20 for the first hour for double kayaks.  Ryan, Ryan’s dad, and I each decided to go for a single kayak.  Since all three of us had been before, we grabbed life jackets, were set us up with kayaks, received a quick overview of the bay, and pushed out into the water.  The Rock Kayak Co. does offer first timer lessons for anyone who hasn’t been before.

The water was calm and we started out by heading across the bay to the sandy island.  Unfortunately, the sand dunes were all roped off so we were only able to walk around a little bit.  It was nice to enjoy the town of Morro Bay from across the bay!

SuitcaseJournal: View of Morro Bay, California

On the way to the sand island, we passed a platform in the middle of the bay full of sea lions.  We got pretty close and one jumped in right in front of me.  It was creepy because I didn’t know where he’d pop up (and I have no idea if they’re dangerous).  Luckily nothing happened, and I was able to get a few close-up pictures!

SuitcaseJournal: Sea Lions in Morro Bay, California

We kayaked away from Morro Rock and enjoyed the calm water.  We weren’t sure how long we’d been out, so at one point we decided to turn around and head back toward the rock.  It didn’t take too much effort to get over there, and we went around for a bit and eventually headed back to the starting point.

SuitcaseJournal: Kayaking in Morro Bay, California

Our adventure ended just over an hour after it began.  We weren’t charged for the extra 5-10 minutes, which was nice!  It was a great way to spend part of the afternoon and I would recommend it for anyone who wants to be a little active after a big lunch in Morro Bay.  No need to plan ahead, just go down to one of the rental shops and get started in minutes!

Wine Tasting in Santa Ynez – A (Digital) Scrapbook View

Since I began scrapbooking, I have been spent almost 100% of my time and energy on creating physical scrapbooks.  However, I know that not everyone has the time to put together a scrapbook with printed photos, paper, and embellishments (apparently I don’t either, considering I just now finished the scrapbook for a trip from over two and a half years ago).  I am finally stumbling into the world of digital scrapbooking and can’t wait to share what I’ve come up with! It’s a lot quicker and a lot cheaper.  I love how I can choose the size of the pictures without ordering several options.  I can also swap pictures very easily.  I’m looking forward to spending more time on the digital side of scrapbooking, but I am sure I will never give up the physical scrapbooks.

Anyway, during our visit to Solvang, Ryan and I wine tasted in several areas in the Santa Ynez Valley – Solvang (wineries that were not downtown tasting rooms), Los Olivos (downtown), Foxen Canyon (Los Olivos), and Lompoc (the wine ghetto).  On past trips, we have also tasted in downtown Solvang and Santa Maria.  Here are a few pages that I made (my first digital pages!) with pictures from our trip.  I started out with some background “paper” that I created – two using pictures we took and one using Adobe Illustrator.

SuitcaseJournal: Solvang, Santa Ynez Valley Wine Tasting Digital Scrapbooking Paper

Left: Created from a picture taken at a vineyard in Solvang, CACenter: I took a picture of a bar at one of the wineries we visited.  I used a few copies of the picture to fill the page; Right: Created in Adobe Illustrator based on the Danish-style buildings throughout Solvang.

And now for the three pages I completed using the “paper” above:

1.  These pictures were taken while wine tasting, and I wanted to stick with the traditional mix of green and purple to accompany them.  Nothing too fancy (expect for the gorgeous font – Some Weatz Swatches).  I love rounded corners, so I incorporated that easy technique to this page.

SuitcaseJournal: Solvang, Santa Ynez Valley Wine Tasting Digital Scrapbook Layout Idea by Kristin

 2.  This next page is so completely different than any wine tasting page I’ve ever envisioned.  The Lompoc Wine Ghetto consists of 17 wine tasting rooms in warehouses, so the metal background and warehouse flooring seemed very appropriate. For your warehouse flooring needs, your local warehouse flooring installers can be of great help.
SuitcaseJournal: Lompoc Wine Ghetto, Santa Ynez Valley Wine Tasting Digital Scrapbook Layout Idea by Kristin

3. And finally, a few pictures from downtown Solvang!  I used the Danish-style building background for this and found red push pins at this site.  I’ve used brads, eyelets, and other embellishments on pages I’ve created in the past, but real push pins would obviously pose a problem.  I love the cork board look.

SuitcaseJournal: Downtown Solvang Digital Scrapbook Layout Idea by Kristin

And that’s it for the recap of our Solvang trip over the long 4th of July holiday.  We are very much looking forward to all of the other fun trips we have planned this year!